In the world of air travel, flight attendants do much more than serve drinks and snacks—they are highly trained safety professionals, responsible for the well-being of all passengers. Among the many safety protocols they follow, one unusual practice often catches the eye: flight attendants sitting on their hands during takeoff and landing. While it may look odd to the average traveler, there is an important reason behind this procedure.
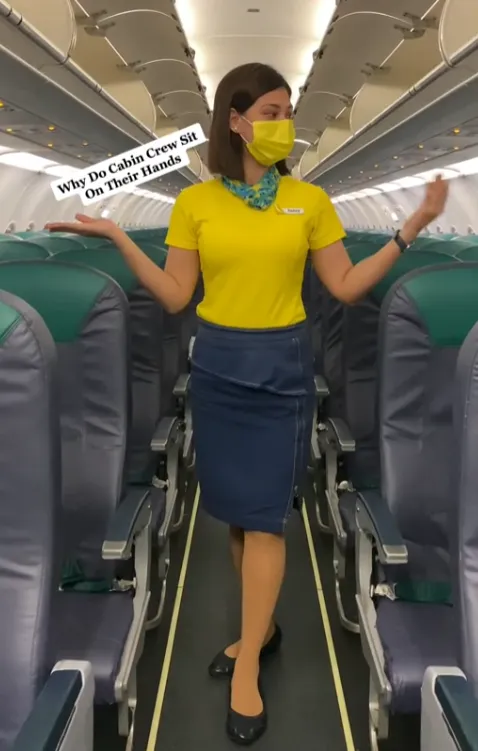
Image Credit: @_hennylim_ TikTok
Let’s explore the purpose of this practice and how it plays a critical role in ensuring safety during flights.
The Bracing Position Explained by a Flight Attendant
If you’ve ever noticed flight attendants buckling up in their jump seats and adopting a particular posture—sitting on their hands as the plane takes off or prepares to land—you might wonder what they’re doing. In a viral TikTok video, Cebu Pacific flight attendant Henny Lim sheds light on this often-overlooked protocol.
According to Lim, the posture flight attendants take, known as the bracing position, involves several key actions:
Fastening seatbelts securely
Sitting upright
Placing hands on their thighs with thumbs tucked in
Keeping arms relaxed
Ensuring their feet are flat on the floor
While this position may seem strange to passengers, it’s designed to serve a crucial purpose, especially in the event of an emergency.
Purpose of the Bracing Position
The main goal of the bracing position is to minimize movement and reduce the risk of injury if a crash or emergency landing occurs. During an impact, bodies can be thrown forward with significant force, leading to dangerous, uncontrolled movements, or flailing, which increases the risk of injury. By sitting on their hands and securing themselves, flight attendants limit their body’s motion and protect their limbs from potential harm.
Additionally, flight attendants use this time to mentally prepare for emergency scenarios. As Lim explains, this involves conducting a “silent review” where they mentally go over safety procedures, emergency exits, equipment, and commands. This mental preparation ensures they can act swiftly and effectively in the event of an emergency, prioritizing passenger safety at all times.
Here’s What You Need To Know If You See Someone Wearing Shoes
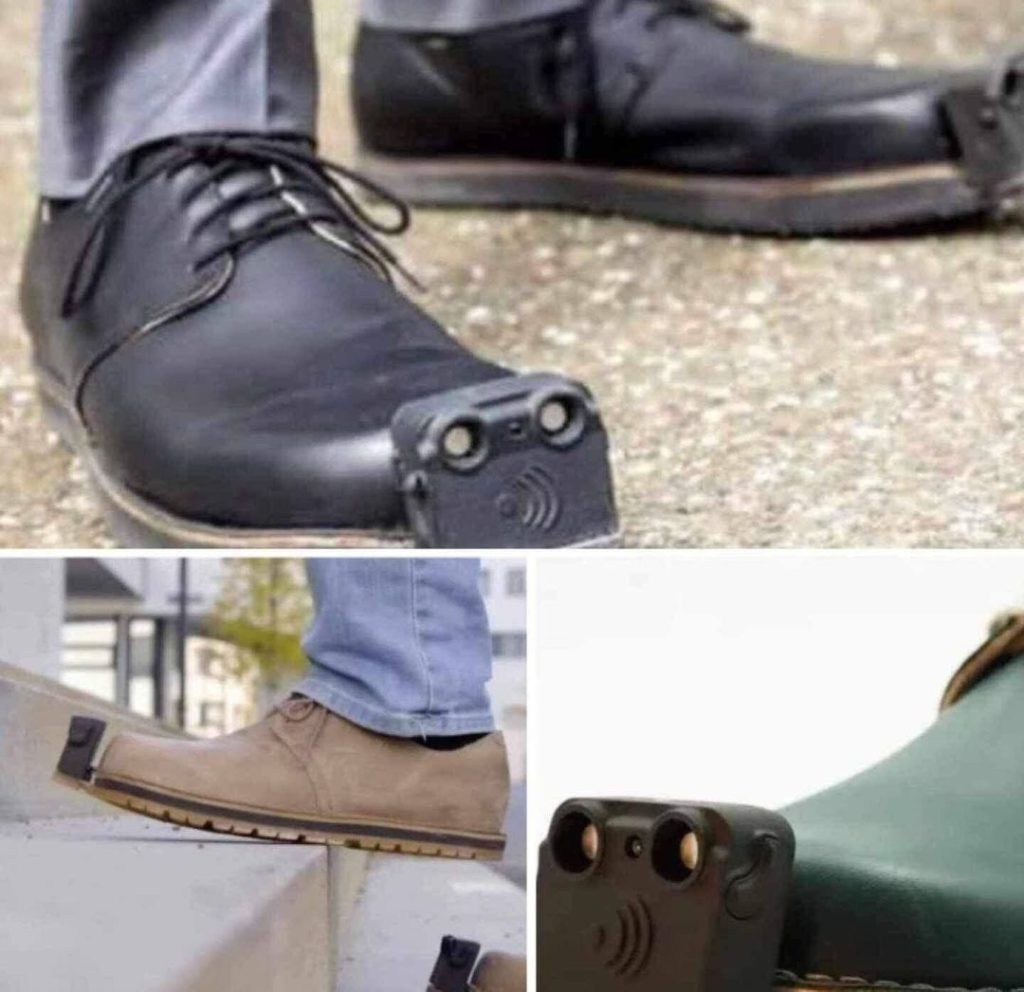
Computer scientists from Austria have introduced a groundbreaking shoe, called InnoMake, designed to help blind individuals navigate obstacles while walking,
Developed by Tec-Innovation and Graz University of Technology, this innovative shoe, priced at over $3,000, boasts waterproof ultrasonic sensors on each toe, capable of detecting obstacles up to 13 feet away.
As wearers approach objects, vibrations and sounds alert them, akin to parking sensors in vehicles. Markus Raffer, a visually impaired co-founder of Tec-Innovation, has lauded its effectiveness, noting personal benefits.
Each foot features a dedicated sensor, available as a complete shoe or retrofit option, capable of identifying an object’s nature, be it a wall, car, or stairs, and providing tailored alerts.
Future plans include incorporating camera-based recognition and machine learning for improved navigation assistance, potentially offering a “street view navigation map” for users.
Friedrich Fraundorfer at TU Graz emphasized the shoe’s potential to revolutionize the lives of visually impaired individuals, granting them greater independence and safety in navigating their surroundings.


Leave a Reply